Indigo Browser - mobile proxy settings

Indigo Browser – an application designed to mimic browser fingerprints. It was developed on the Multilogin platform and is designed to manage Facebook and Adwords accounts. In it, you can create a huge number of profiles, setting each of them with unique Internet connection parameters. Indigo Browser will allow you to bypass regional blocking, anti-fraud systems, avoid a ban when working with numerous pages, and increase the efficiency of traffic arbitration. This ensures a high speed of interaction with the network in any of the operating modes.
Let's dwell on the features of Indigo Browser in more detail, consider the nuances of how the anti-detect browser works with a proxy and the details of the settings.
Indigo Browser Features and Benefits
Indigo Browser is designed for different operating systems: Windows, Mac OS and Linux. At the same time, data storage is organized in cloud structures. The user independently downloads the application for the OS that is installed on his PC and then creates his own profile in it. At this stage, the following data is entered:
- Profile name – anything that would allow you to identify it.
- The kind of operating system that will be emulated by this application.
- The browser type to work with. There are 2 options here: Stealthfox based on Firefox or Mimic on Chrome.
- Proxy information. The type of its protocol, IP address, port, login and password for authorization are indicated.
The application allows you to manually change the geolocation, time zone, manage all working parameters separately, create profiles, add them to groups, work with subaccounts, import and export JSON or Netscape cookies. You can set up teamwork by organizing the transfer of groups, profiles. The functionality of Indigo Browser is really wide and can greatly simplify the work of many users.
Main Benefits of Indigo Browser
Advanced operating parameters – one of the most significant advantages of the Indigo Browser program. With their help, you can configure antidetect protection as correctly as possible, including manually entering data such as DNS address, cookie import, etc. Also, among the advantages of the application, it is worth highlighting:
- regular automatic description of browser fingerprint storage bases;
- very fast and easy creation of accounts, including for the session as a whole with one click;
- support for any type of proxy, including the ability to integrate with proxy providers;
- on one license, you can organize work from an unlimited number of computers;
- it is possible to work in multi-user mode;
- installation of additional extensions using developer tools.
But with all these advantages, there is also a disadvantage – basic Indigo Browser proxies are not provided. Also, there are no other tools that would allow you to change the IP address and geolocation of your PC. But this shortcoming is eliminated easily, quickly and completely inexpensively by connecting third-party proxy servers to the application. The entire setup process will take a few minutes, and you will be able to evaluate the effectiveness of the measures taken during the first work task.
Proxy configuration sequence for working with Indigo Browser
Before proceeding with the settings, you need to buy a proxy. We do not consider the option of using public free servers, because their efficiency is very low and their use can provoke a number of serious problems, including those related to network security. Therefore, the choice should be made in favor of private proxy servers with wide functionality. Such a product on favorable terms and for any period of time, from 1 day to 1 year, offers the MobileProxy.Space service.
After purchasing a proxy, your personal account will display full information about this server. To perform the following settings, you need to know the type of protocol on which they work (possible options are SOCKS4, SOCKS5, HTTP), IP address. In the case of using authorization, you still need to write out a login and password for accessing the server. Now you can go to the settings. Do the following in sequence:
- Run the program. First of all, we connect the plugin to work. To do this, select the "Plugins" option from the left vertical menu. and click on it. A new window opens on the screen, in which you need to click on the "Activate" button.

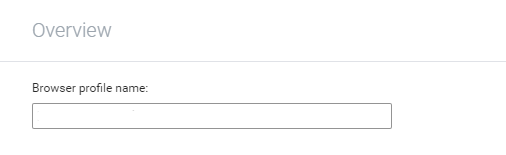
- In the same vertical menu, we find the "New browser profile" function; and create a new profile in the browser. After clicking on it, the "Browser profile name" window opens, in which you need to enter the profile name.

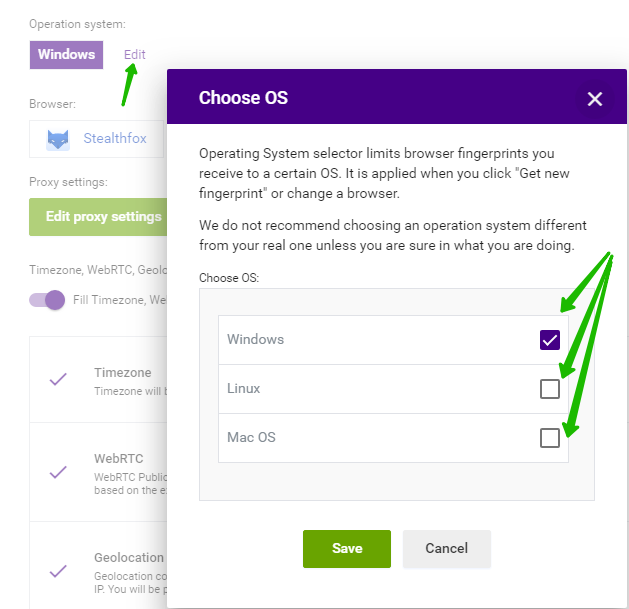
- Choose the operating system under which you will work. In the "Choose OS" block put a checkmark next to a specific OS. As a recommendation, we advise you to opt for Windows. Be sure to click on "Save" (save).
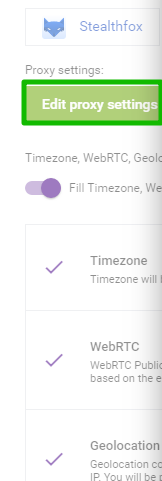
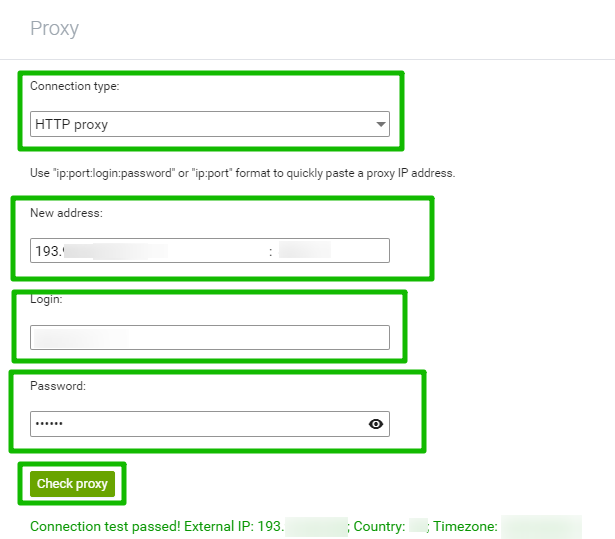
- Click on the option "Edit Proxy Settings". A new window opens in which you need to specify the proxy server data that we talked about above. In the upper window, select the type of proxy protocol (we recommend HTTP), in the second – his IP address, in the third – authorization login, and in the lowest – password. We check the correctness of the entered data by clicking on the "Check proxy" button. (check proxy). If an error suddenly pops up, then check the entered technical information. You may have made a mistake somewhere.
- Everything. This completes the basic settings for connecting a proxy to Indigo Browser. If necessary, you can adjust additional parameters of the browser profile. Don't forget to save your changes.

Now you can go directly to work, avoiding all sorts of restrictions.