IDENTITY and mobile proxies

When working with social networks, bulletin boards, betting on sports events, when promoting accounts, bringing new goods, services, brands to the market, one of the most serious problems is the circumvention of sufficiently serious anti-fraud systems of these sites. The fact is that all the tasks facing arbitrageurs, SMM specialists, visitors to betting shops' websites involve the simultaneous use of a large number of personal pages. But the sites themselves react extremely negatively to multiaccounting, instantly blocking such profiles. And a banal change of IP address is not enough here. A more reliable and comprehensive solution will be required. anti-detection browser.
One of the best solutions in this category of software products will be IDENTITY. This antidetect browser can rightfully be called a guarantor of stable and efficient work with multiple accounts, including using automated promotion services. Let's get acquainted now in more detail with the functionality of this program, tell you how to connect the proxy correctly, tell you which servers will be the optimal solution when working with IDENTITY.
Brief introduction to the IDENTITY
The IDENTITY program was created specifically so that users could create unique personalities for working on the Internet, assigning each individual digital fingerprints, IP address. Along with standard tools for substituting real technical data, there is support for automating actions, the ability to work with the API. And this means that thanks to IDENTITY, you will not only ensure complete anonymity of online work, but also be able to shift boring, monotonous, routine work to the program.
This anti-detection browser can work as quickly as possible with any operating systems, even if you have dozens or even hundreds of different pages open at the same time. Working with proxies will also be simple and convenient here: you can connect them one at a time, or create a document in advance and download everything at once.
Using IDENTORY, you can quickly create unique Internet personalities to work with any sites, social networks and other platforms. You get:
- Real digital prints. Today, over 1 million combinations of reliable hardware configurations are available. No anti-fraud system will be able to identify the substitution.
- Simple, convenient and logically structured interface. At first glance, it becomes clear how well every detail is thought out here. What it costs to create browser profiles in just a couple of clicks – the data is filled in automatically.
- Ensuring complete confidentiality of work on the network. The program provides local storage of information, it is possible to launch pages and log in via TOR. There are no hidden requests, telemetry.
- The possibility of replacing digital fingerprints of both personal computers, laptops, and smartphones, tablets, that is, mobile devices. Mobile device emulation is provided, including iPad and iPhone.
- Constant preservation of relevance. The program is subject to constant updates, and its core will always be up-to-date. Developers are constantly working on the product, improving it, adding new digital prints.
- No restrictions. This applies both to the number of browser profiles created, and to the devices from which the work is carried out.
All this allows us to say with confidence that the IDENTITY anti-detection browser will be effective and convenient to work with for webmasters, arbitrageurs, targetologists, advertisers and all those who face multiaccounting in their work.
Mobile proxies for IDENTITY: advantages of using
The effectiveness, versatility, stability, security and convenience of working with the IDENTORY anti-detection browser largely depends on the connection to the proxy server program. This simple solution will provide:
- stable work with multiple accounts, including using automated tools;
- the ability to set each account a separate, own IP address: the visibility of a large number of real people will be created;
- stable access to websites and services from all over the world, including those that are blocked in your country at the regional level: effective circumvention of regional blockages is ensured;
- complete anonymity and security of work on the network, protection from hacker attacks and any other unauthorized access.
It is only necessary to correctly perform a number of elementary settings.
The sequence of actions for configuring the proxy in the IDENTITY anti-detection browser
To connect proxy servers to profiles in the IDENTITY program, you will need about 10-15 minutes of free time, the availability of high-quality proxies (we will talk about this a little later), as well as strict adherence to our instructions. So, we perform the actions in the following sequence:
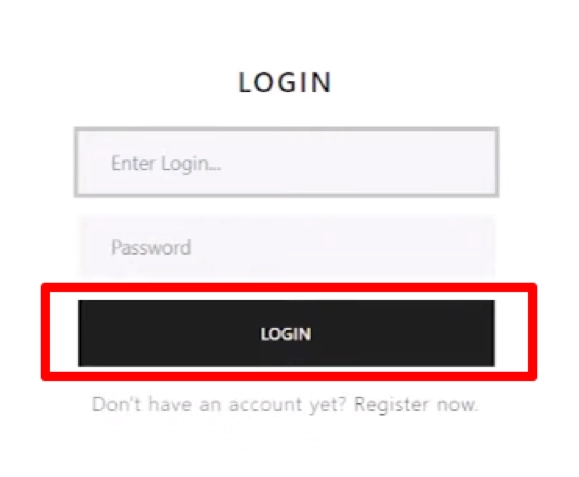
- Launch the IDENTITY anti-detection browser, log in to it to get into your account.

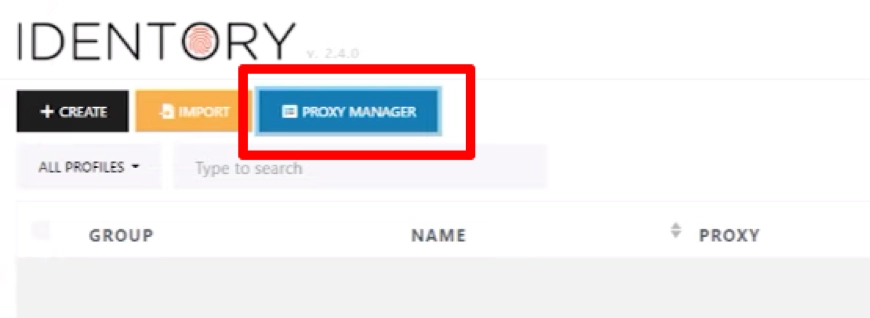
- We find the "Proxy Manager" button painted in blue on the toolbar and click on it. A new window opens in which you need to set the technical parameters of proxy servers. This can be done either manually or by simultaneously downloading the whole list. Let's focus on both options.

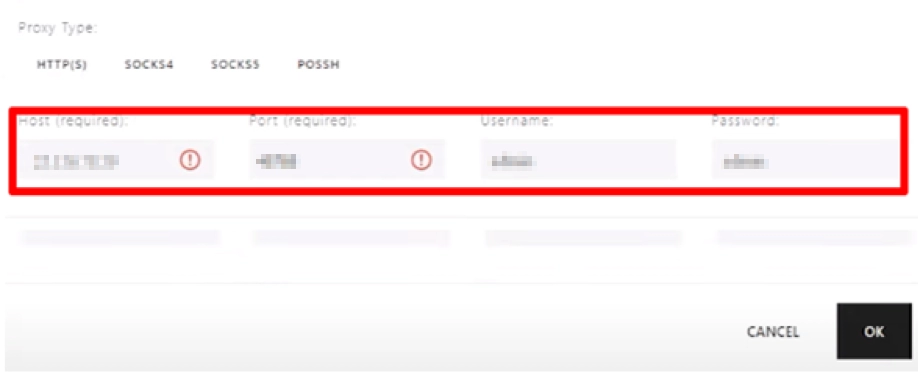
- If you want to connect the proxy to work directly in the program, click on the black button with the inscription "+Add Proxy». Here we fill in all the windows sequentially. In the topmost column "Note" we write down the name of the server that will connect (we come up with any option). Next, select the type of proxy protocol from the drop-down list, and in the column next to it we write the address, port of the server, as well as your authorization data. It is absolutely necessary to observe the recording standard. There are 2 options: "Login:Password@IP address:Port» or «IP address:Port:Login:Password" You can also enter all this data in separate windows. Click on the black button "OK" in the lower right corner of the screen.

- Do you want to immediately generate a complete sheet with technical information of all connected servers? Then you will need to click on the orange button "Add Proxy List". Here we also come up with a name, choose the type of proxy, and in the "Proxy List" column we prescribe a list, also adhering to the above data recording standard. In addition, we specify each server from a new line. Save the settings, click on the "OK" button.
- To be sure of the operability of the connected proxy servers, you need to put a check mark next to a certain server near the "Check" button. In the "Status" column, you will be able to see the result of the running check.
- We connect the proxy to a specific account. To do this, go to the main menu of the program and in the toolbar find the black button "+Create", click on it. A new window opens with a vertical menu on the left. Here we select the option "Quick Proxy Insertion" and click on the button on the right side with three horizontal stripes "Select from the proxy list". So you will open a list of proxies that have just been added to the work. Select a specific server, fill in the related information and click on the "OK" button.
This completes the settings. But there is one more point about which it is necessary to tell – which proxies are suitable for working with IDENTITY. Free servers cannot be used due to their very low reliability. What is publicly available cannot be of high quality and stable in operation. The best solution is a personal mobile proxy from the MobileProxy service.Space. Here https://mobileproxy.space/en/user.html?buyproxy you will be able to get acquainted with the functionality, tariffs, product features, take advantage of free 2-hour testing. So, even before the purchase, you can make sure that mobile proxies are from MobileProxy.Space is the best solution for collaboration with IDENTITY.


