How to Use IPGuardian: Step-by-Step Network Protection and Automation Tips
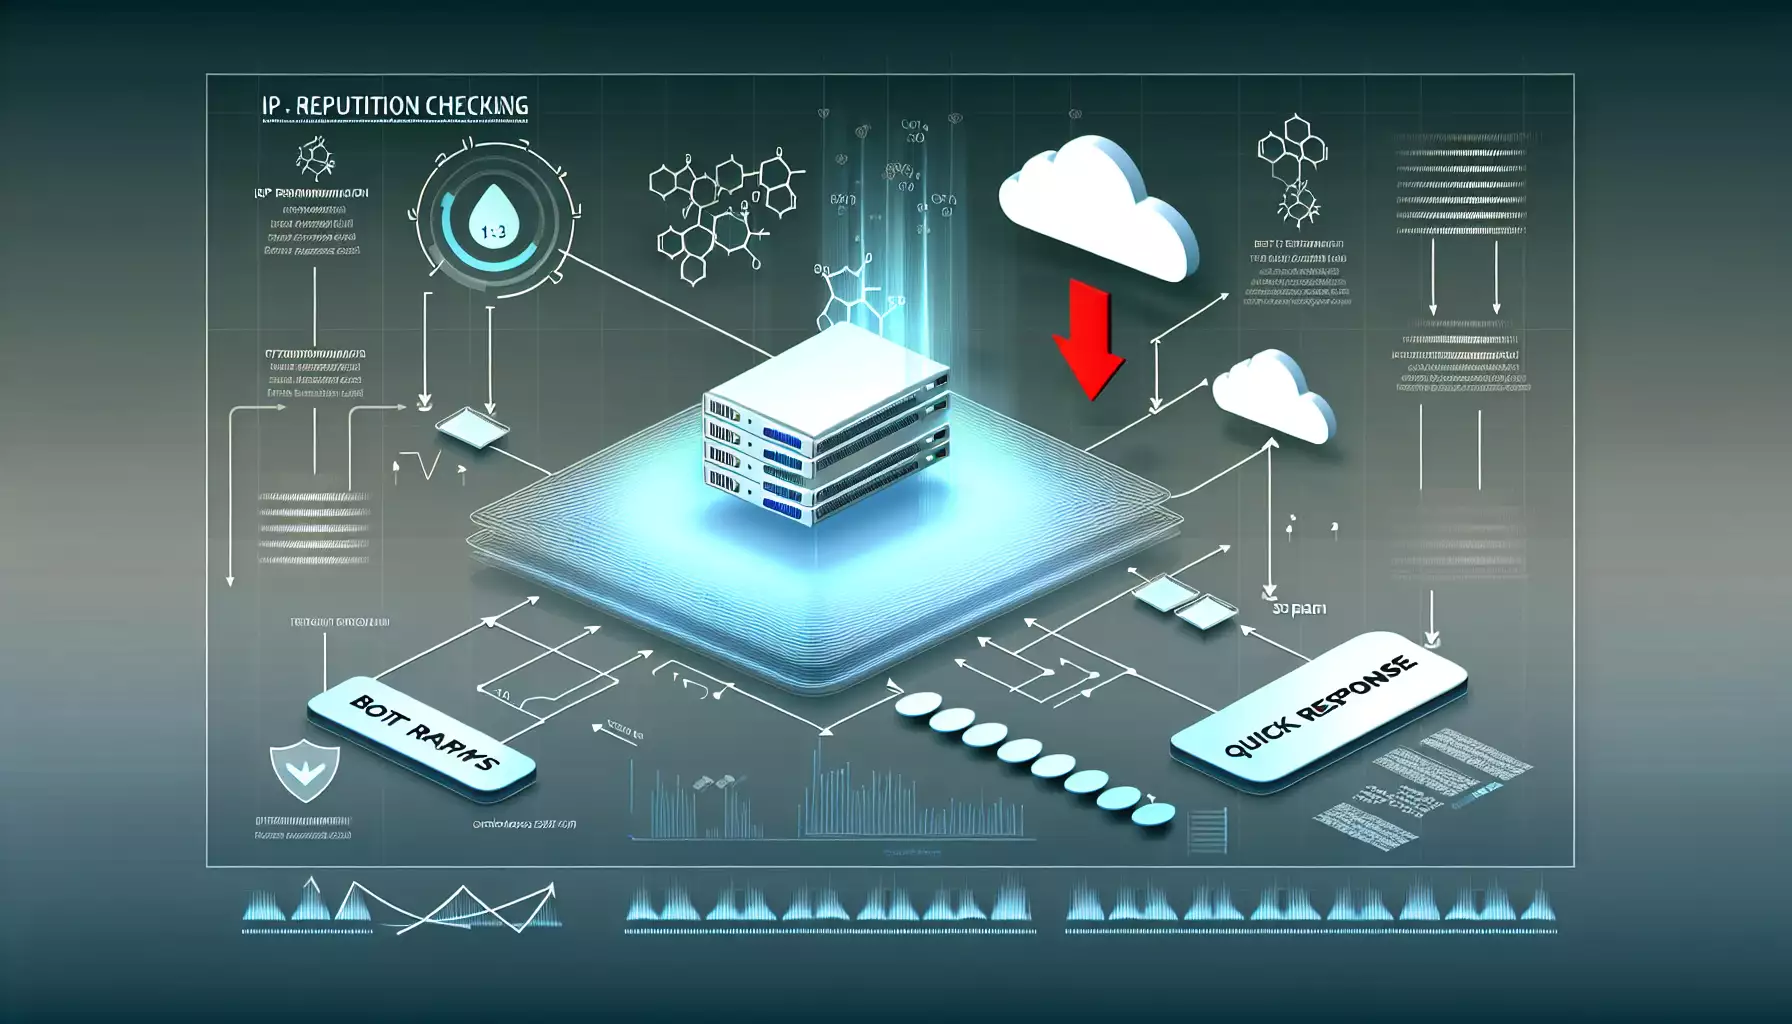
Table of contents
- Introduction: why ip reputation matters in 2025
- What ipguardian is and what it provides
- Use cases: 20 ways to apply ipguardian in real life
- Technical integration: how to start with the api and build robust automation
- Architectural patterns: where to place ip checks in your infrastructure
- Practical tips for tuning policies and thresholds
- Integration with ci/cd, monitoring and incident management
- Business considerations: costing and rate limit management
- Legal and compliance considerations
- Case studies: deployments and surprising discoveries
- Pitfalls and what to avoid
- How to test and debug: your first-week checklist
- The future: how ip intelligence will evolve and how to prepare
- Conclusion
Introduction: Why IP Reputation Matters in 2025
Imagine your server as a café in the city center. Every day people come in: some buy coffee and leave, some make a nuisance, and a few try to sneak a dessert in their pocket. As the owner, you need to quickly tell who’s dangerous and who’s a paying customer. In the digital world, visitors are IP addresses, and judging their reputation is no longer optional — it’s essential. In 2025, attacks are more sophisticated and automated bot density is higher, so real-time IP reputation services are a basic hygiene practice for security.
What IPGuardian Is and What It Provides
In short: IPGuardian is an IP reputation aggregator that collects and normalizes data from over 250 feeds, including well-known sources like Spamhaus, AlienVault and EmergingThreats. It refreshes hourly, responds fast (often under 50 ms thanks to CDN and optimized databases), returns JSON via a REST API, and supplies detailed reports: threat categories, sources and confidence scores. Picture an assistant that tells you on the fly: “this IP is a known spammer,” “this one participates in a botnet,” or “this looks like a suspicious proxy network” — and gives you options: block, throttle, monitor, or feed into your analyst workflows.
Use Cases: 20 Ways to Apply IPGuardian in Real Life
Ready for a list? I put together practical scenarios from basic to advanced that you can implement with minimal effort. Each scenario is a standalone idea you can roll out step by step.
- Quickly block malicious traffic at the web server level. Call the API on incoming connections. If an IP has a high confidence for categories like “botnet” or “malicious,” return 403 or 429 and log the incident to your SIEM.
- Protect admin panels and SSH. Check the IP before allowing a login attempt. For SSH, a PAM module can make an HTTP call to the API and immediately deny access on a positive result.
- Email filtering and spam control. Integrate the service response into your mail filter: the MTA checks the sender IP and boosts the spam score or tags messages for rejection.
- Strengthen WAF rules. Dynamic rules: add addresses to the WAF blacklist based on confidence scores and threat types returned by the service.
- Protect APIs from scrapers and DDoS. Track adjusted risk ratings and apply rate limits or challenges (CAPTCHA) to suspicious clients.
- Automate checks in CI/CD and during deployment. Scan IPs of external services and providers before deployment to ensure they don’t appear on threat lists; this helps meet security and supplier requirements.
- Integrate with SIEM and SOAR. Link SIEM events to IPGuardian responses: when a high score is detected, automatically create a SOAR ticket and run playbooks.
- Monitor cloud networks and VPCs. Enable checks for outbound and inbound connections between cloud instances and external endpoints during routing.
- Protect microservices and Kubernetes. A sidecar proxy can synchronously call the API and decide on pod-to-pod traffic, enforcing segmentation and preventing east-west attacks.
- Phishing and user protection. Corporate gateways can filter addresses commonly used for phishing, lowering the chance users land on malicious sites.
- Enrich logs and analytics. Add reputation fields to each log entry: threat category, feed source and confidence score — making investigations faster and more accurate.
- Block TOR and anonymizers. If your policy minimizes anonymous access, use the service to block known exit nodes.
- Protect IoT devices. Many smart devices are vulnerable: filtering outbound IoT connections by reputation prevents devices from joining botnets.
- Support incident investigations. During post-incident analysis, get the history of an IP’s involvement in threats to speed up attribution and response.
- Intelligent traffic routing through CDN. Route suspicious IPs through extra verification layers or present a CAPTCHA before granting full access.
- Network-level access segmentation. In large infrastructures, automatically adding IPs to router-level blocklists simplifies containment.
- Protect mobile apps. If a mobile client talks to your backend, check the incoming IP at the API Gateway before performing costly operations.
- Integrate with CRM and support systems. When a customer submits a web form, verify the IP to distinguish genuine requests from automated spam waves.
- Geolocation policies and compliance. Combine geolocation with threat scores: block connections from countries that frequently originate botnets if that matches compliance requirements.
- SOC training and testing. Use service data to craft attack scenarios and train SOC operators: inject suspicious IPs into logs and practice response rules.
Technical Integration: How to Start with the API and Build Robust Automation
Let’s start with the basic pattern: checking an IP via API before allowing access. In practice this is a few simple steps: 1) call the REST endpoint with the IP address and your API key, 2) receive JSON with threat category, sources and a confidence score, 3) apply your decision logic.
A typical JSON response includes fields like: ip, score, categories (list), sources (which feeds reported it), last_seen and confidence. From those you can compute a local risk_score — for example, a weighted_sum(confidence_i * weight_category_i). Don’t rely only on a binary “malicious/clean” answer — add context: timing, request frequency, and interaction history.
Practical API rollout steps:
- Set up API keys and access rights. Create separate keys for test and production. Restrict keys by allowed source IPs and rate limits.
- Implement response caching. Even with fast responses, cache repeated queries at the application or CDN level with a short TTL (e.g., 10–60 seconds) to reduce load and save quota.
- Provide fallback logic. If the service is unavailable, don’t crash the app: use local heuristics and temporary blocking rules or tag results as “unknown” for later review.
- Build a processing queue for asynchronous decisions. Not everything needs to be blocked instantly. For lower-priority transactions, enqueue events and handle them later, updating interaction status.
- Automate back-office ticketing. When an IP is identified as a threat, create a ticket in your incident system so analysts can review and act.
Example Decision Logic
I like simple if-then rules. Here’s a verbal example: if category contains “botnet” and confidence > 80% — block. If category contains “spam” and confidence is 50–80% — tag, lower priority and enqueue for manual review. If category is “proxy” with medium confidence — apply rate limiting and a challenge. In reality you combine this with behavioral data: an IP making 100 requests in 10 seconds is suspicious even if the service reports “low confidence.”
Architectural Patterns: Where to Place IP Checks in Your Infrastructure
Where should you call the service? Here are options with pros and cons.
- At the perimeter (edge, CDN, WAF). Pros: early filtering, reduced backend load, blocking harmful traffic before it reaches the app. Cons: possible false positives, limited contextual information.
- At the API Gateway. Pros: richer context (headers, tokens), centralized policy management. Cons: potential single point of failure, need to cache results.
- Inside microservices (sidecar or library). Pros: deep session context and better alignment with business logic. Cons: duplicated logic and higher operational complexity.
- In the SOC and SIEM (post-event). Pros: analytics, retrospective correlation and incident management integration. Cons: reactive response can be too late to prevent impact.
The ideal strategy is hybrid: fast perimeter filtering for obvious threats, with deeper inspection mid-chain for complex cases.
Practical Tips for Tuning Policies and Thresholds
Thresholds are an art, not an exact science. Here are recommendations I’ve tested in the field:
- Start with soft measures. Run the system in monitoring mode for the first two weeks: tag events and collect stats without blocking so you can see which legitimate clients might be affected.
- Use adaptive thresholds. Introduce dynamic thresholds that depend on load and operation sensitivity. For example, payment transactions need stricter checks than serving a static page.
- Maintain whitelists. For critical partners, keep a whitelist with manual verification to avoid business disruption from false positives.
- Use graded trust levels. Not everything is black and white: apply “high,” “medium” and “low” danger labels and tie them to proportional countermeasures.
- Review regularly. Perform monthly policy reviews and adjust category weights and confidence thresholds based on trends and team feedback.
Integration with CI/CD, Monitoring and Incident Management
Without automation, rules age quickly. Integrating IP reputation into CI/CD pipelines and monitoring tools keeps you responsive.
Integration examples:
- Pipeline checks for dependencies and environments. During a build, check external resources the code will call for bad reputation.
- Prometheus/Grafana alerting. Export metrics for blocked IP counts, average confidence scores and threat-category trends. Use these metrics to trigger alerts for engineers and managers.
- SOAR playbooks. On detection of a large-scale attack, automatically increase blocking, notify teams and create high-priority tickets.
How to Log and Store Data
Logs are your memory. Add fields like ip_reputation_category, reputation_score, sources and timestamp_reputation to each log entry. Retain logs for at least 90 days for investigations and compliance. Aggregated dashboards by threat category and source help you spot trends and recurring issues.
Business Considerations: Costing and Rate Limit Management
When you start querying the API at scale, the financial side matters. Keep these points in mind:
- Caching. Reduces queries and saves money.
- Traffic segmentation. Split checks into “critical” and “non-critical” — critical queries always hit the API, non-critical ones can be processed from a queue on a schedule.
- Pre-deployment testing. Load-test to see how costs grow with mass IP analysis and identify operations that can be asynchronous.
- Reduce false positives. Every incorrect block risks lost revenue. Investing in correct thresholds pays off by reducing disruptions and remediation costs.
Legal and Compliance Considerations
Using external feeds and reputation solutions carries legal responsibilities. Pay attention to these:
- Privacy and personal data handling. When logging IP addresses, check GDPR and local regulations. Sometimes an IP is personal data — document processing purposes and retention periods accordingly.
- Misclassification consequences. If you block a customer by mistake, how will you compensate them? Design an appeal and rapid unblocking workflow.
- Vendors and SLAs. Discuss SLA expectations around availability, data accuracy and update frequency. In 2025, hourly updates and low-latency responses are critical.
Case Studies: Deployments and Surprising Discoveries
Here are a couple of real examples that show the power of IP reputation.
Case 1. Retailer hit by a surge of bot traffic. A store saw a spike in requests at night that slowed the site and caused order failures. After reputation checks, most traffic was traced to known bots and proxies, so the team quickly reduced load without hurting sales.
Case 2. Hosting provider cut incidents by 30%. A provider added IP reputation checks at the virtual router level and automatically isolated compromised client nodes, which lowered spam volume and DDoS incidents.
In both cases speed of decision-making and the ability to roll back policies fast were crucial.
Pitfalls and What to Avoid
Here are common mistakes to anticipate:
- Hard blocking with no monitoring. The most common error: block everything and then wonder why revenue dropped.
- Ignoring context. IP is often just one signal. Without session context, behavioral patterns and tokens, you risk cutting off loyal users.
- No appeal procedures. Without a simple manual review process, partners will be upset.
- Full automation without tests. Any automation must be accompanied by A/B tests and monitoring of business metrics.
How to Test and Debug: Your First-Week Checklist
Field-testing is straightforward. Here’s my seven-day checklist after go-live:
- Day 1: Turn on monitoring and mark all decisions as “observe only.” Collect initial data.
- Days 2–3: Analyze false positives and compile a whitelist of legitimate IPs to protect.
- Day 4: Apply soft measures — rate limits and challenges for medium-risk categories.
- Days 5–6: Enable automatic rules for clear categories (botnet, exploit) and test on a control group.
- Day 7: Review and tune thresholds, and train support staff on appeal procedures.
The Future: How IP Intelligence Will Evolve and How to Prepare
2025 shows threats are becoming more distributed and multi-stage. What’s next and how to be ready?
- Unified telemetry. Expect growing fusion of network, endpoint and cloud data for a clearer threat picture.
- ML and behavioral correlation. Services will increasingly use machine learning to link IPs to behavioral patterns and rank them dynamically.
- Higher transparency demands. Customers will want explainability: why was an IP classified as malicious and on what basis.
- Integration with private repositories. Combining public feeds with private intel repositories creates powerful synergies.
Conclusion
IP reputation isn’t magic or a silver bullet, but it’s a powerful tool when managed correctly. In 2025 IPGuardian provides timely, fast data you can use at the perimeter, in an API Gateway, in SIEM and across incident workflows. Flexibility, caching, adaptive thresholds and appeal procedures are the pillars of a successful strategy. Number of characters in the text excluding HTML tags, calculated when this material was created: 46879.
FAQ
- How quickly can IP reputation be integrated into an existing website? You can enable monitoring and tagging in a few hours, and set up basic WAF filtering and start collecting stats in a couple of days.
- Should I block IPs automatically? Not at first. Start with monitoring and soft measures, then introduce automatic blocks for clear-cut categories once you have enough data.
- What data should be stored in logs? Keep IP address, risk category, confidence score, feed source and the timestamp of the check for at least 90 days.
- How do I reduce false positives? Use whitelists for business partners, adaptive thresholds and combine reputation data with behavioral signals.
- What to do if the reputation service fails? Have fallbacks: local heuristics, cached responses and an “observe” policy until the service is restored.
Additional Tips
Never forget security is a balance between user convenience and protecting the business. Test, collect data and make decisions based on facts, not instincts.